The goal of this tutorial is to help you get started with virt-manager on FreeBSD for managing bhyve VMs. We’ll go through installation and basic configuration, and then set up a FreeBSD guest.
Installation
To install virt-manager, run:
# pkg install virt-managerThis will also pull in libvirt as a dependency.
Configuration
Edit /etc/rc.conf and add:
libvirtd_enable="YES"You can validate your setup by running:
# virt-host-validate
 BHYVE: Checking for vmm module                                              : PASS
 BHYVE: Checking for if_tap module                                           : WARN (if_tap module is not loaded, networking will not work)
 BHYVE: Checking for if_bridge module                                        : PASS
 BHYVE: Checking for nmdm module                                             : PASS
#
The if_tap warning isn’t critical if it’s compiled into your kernel.
Next, adjust libvirt’s control socket permissions. Edit /usr/local/etc/libvirt/libvirtd.conf and add:
unix_sock_group = "wheel"
unix_sock_rw_perms = "0770"
The last prep step is to add a default network:
# cp /usr/local/share/examples/libvirt/networks/default.xml /usr/local/etc/libvirt/qemu/networks
# ln -s ../default.xml /usr/local/etc/libvirt/qemu/networks/autostart/default.xml
Now start libvirtd:
# service libvirtd start
Starting libvirtd.
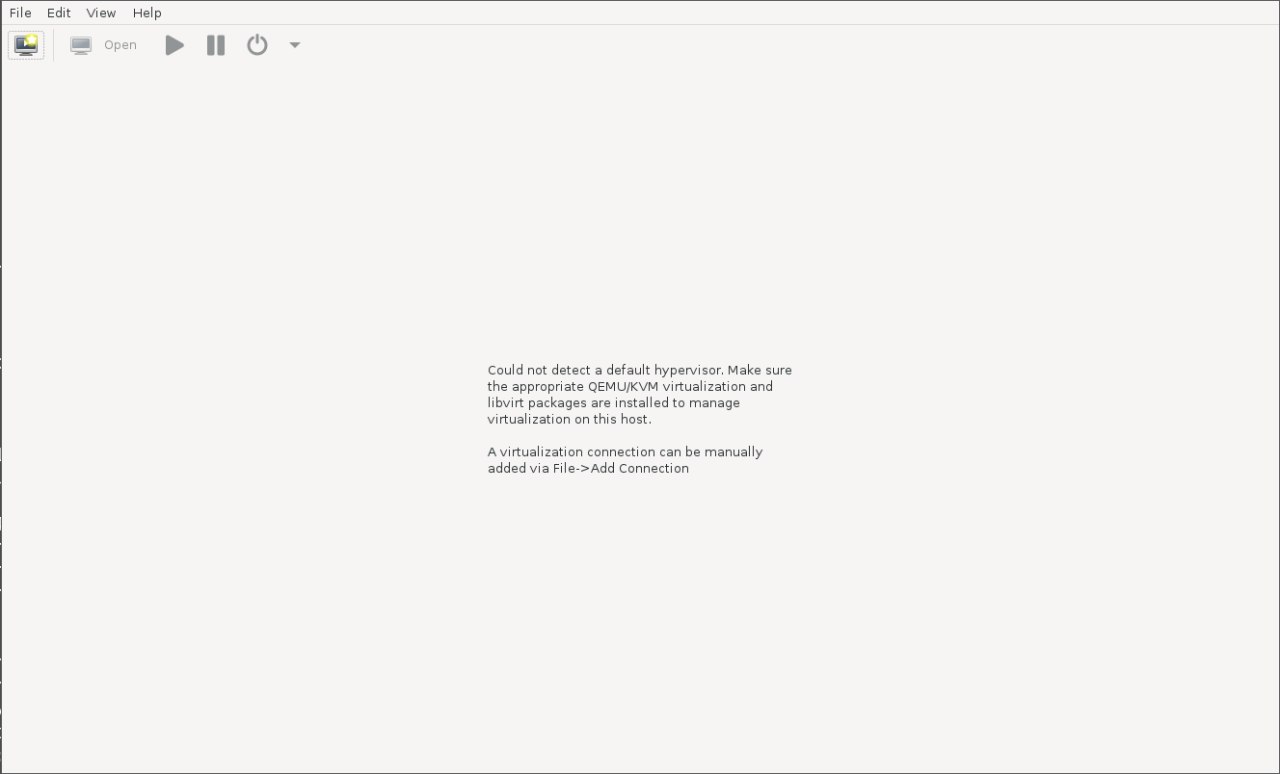
#And then start virt-manager:
$ virt-managerCreating a VM
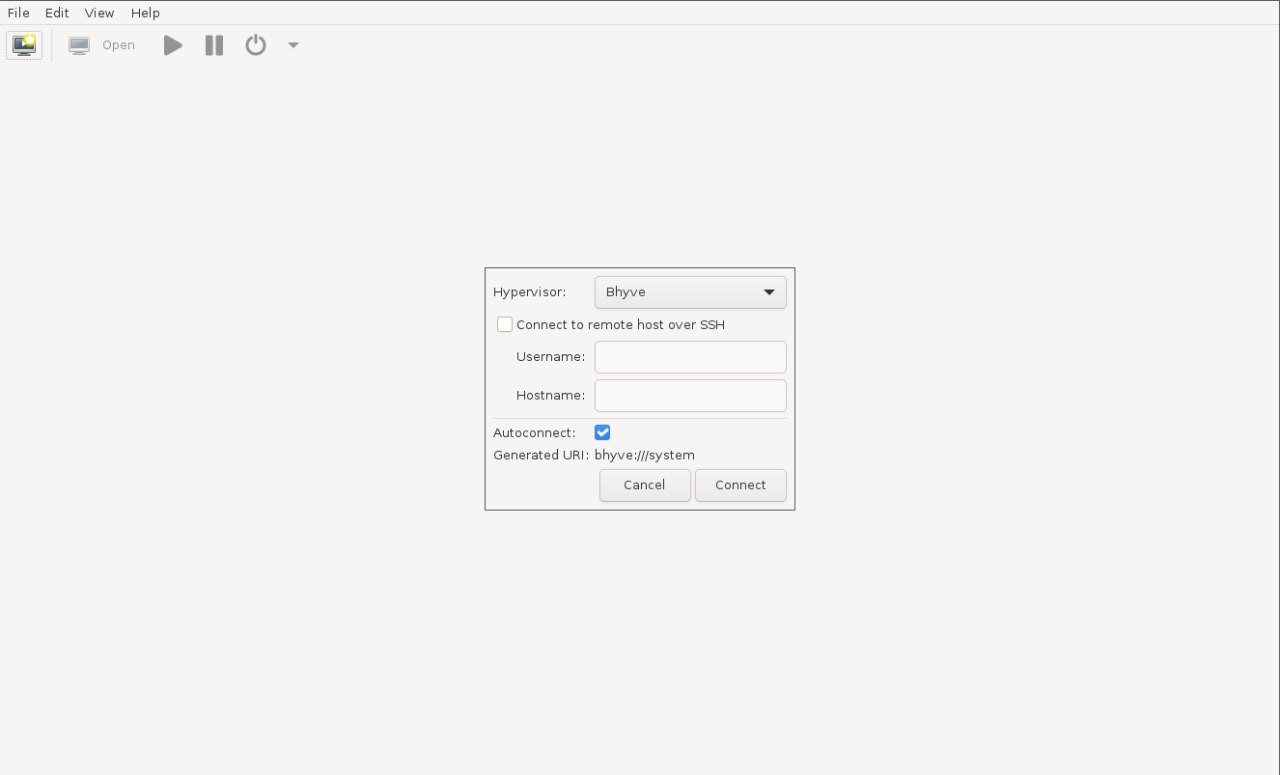
Go to "File" → "Add Connection", choose bhyve:
Click "bhyve", then open the "Virtual Networks" tab. You should see the default network listed:
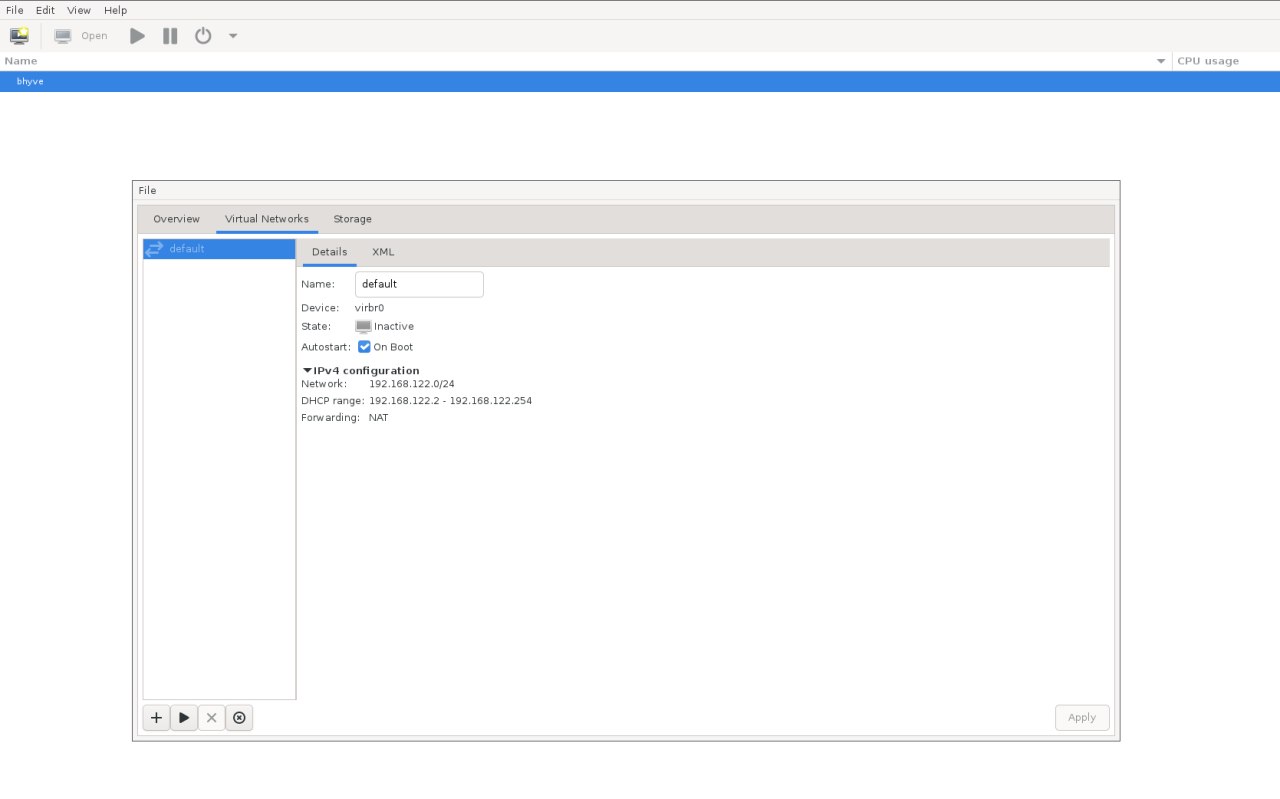
Press the "Play" button to start it.
Now create a new VM: "File" → "New Virtual Machine".
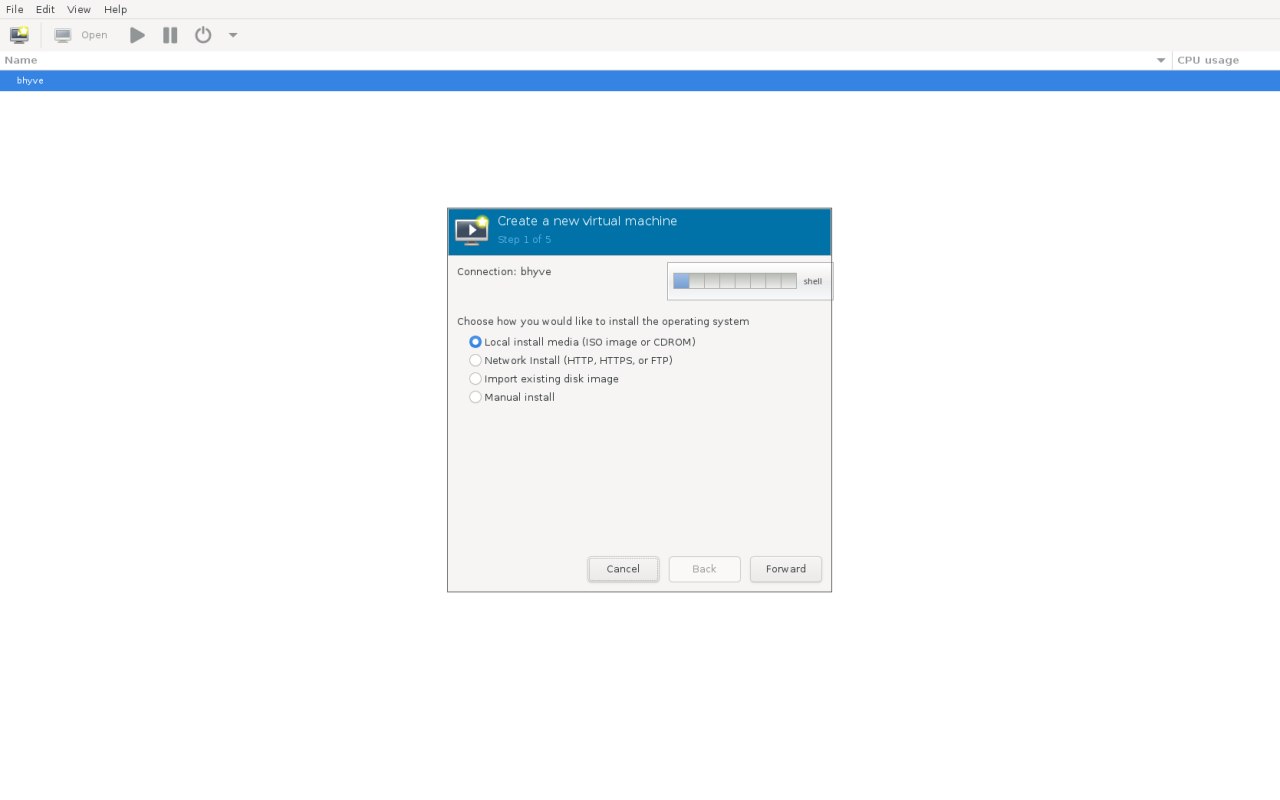
Choose "Local install media" → "Forward". Then click "Browse" to select an ISO.

By default it shows /var/lib/libvirt/images, but you can pick an ISO from your home directory with "Browse Local".
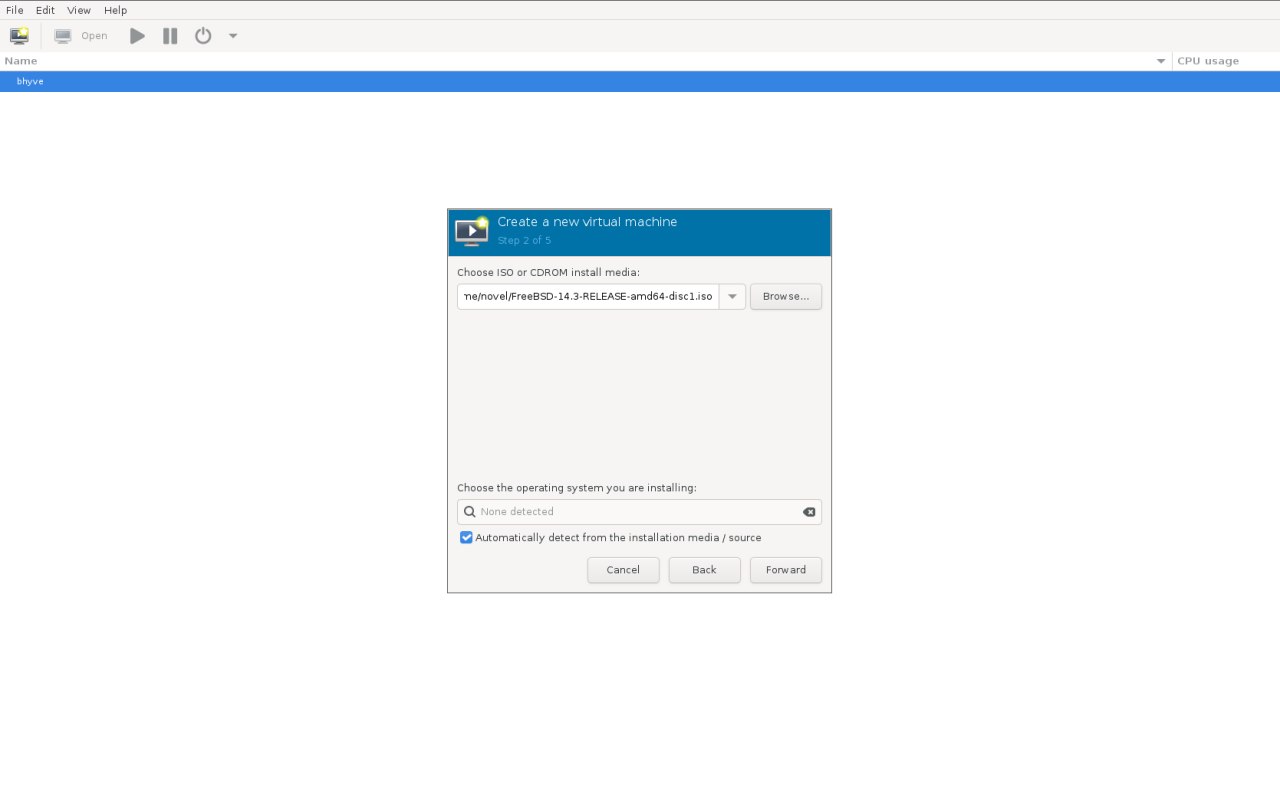
Uncheck "Automatically detect from the installation media / source", search for "FreeBSD", and select "FreeBSD 14.2". (The auto-detection is buggy right now.)
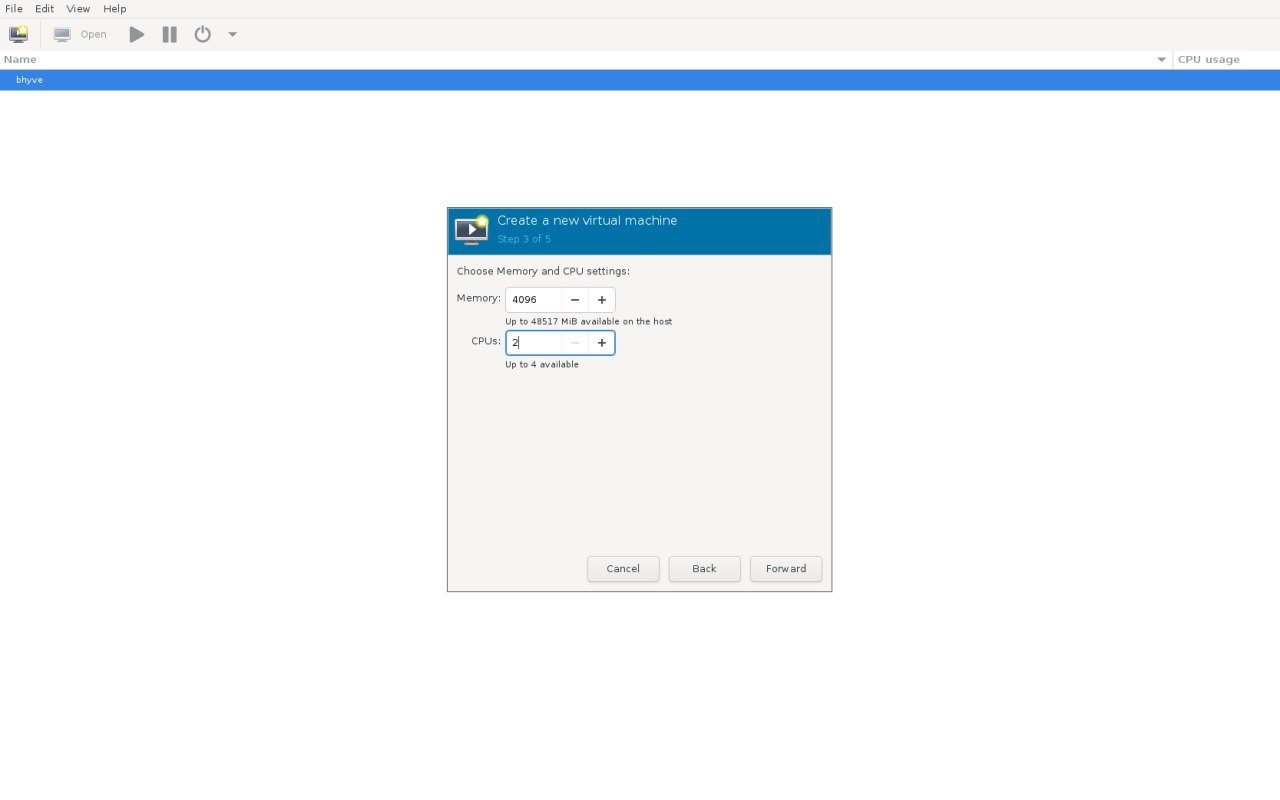
The next step is CPU and memory setup — straightforward.
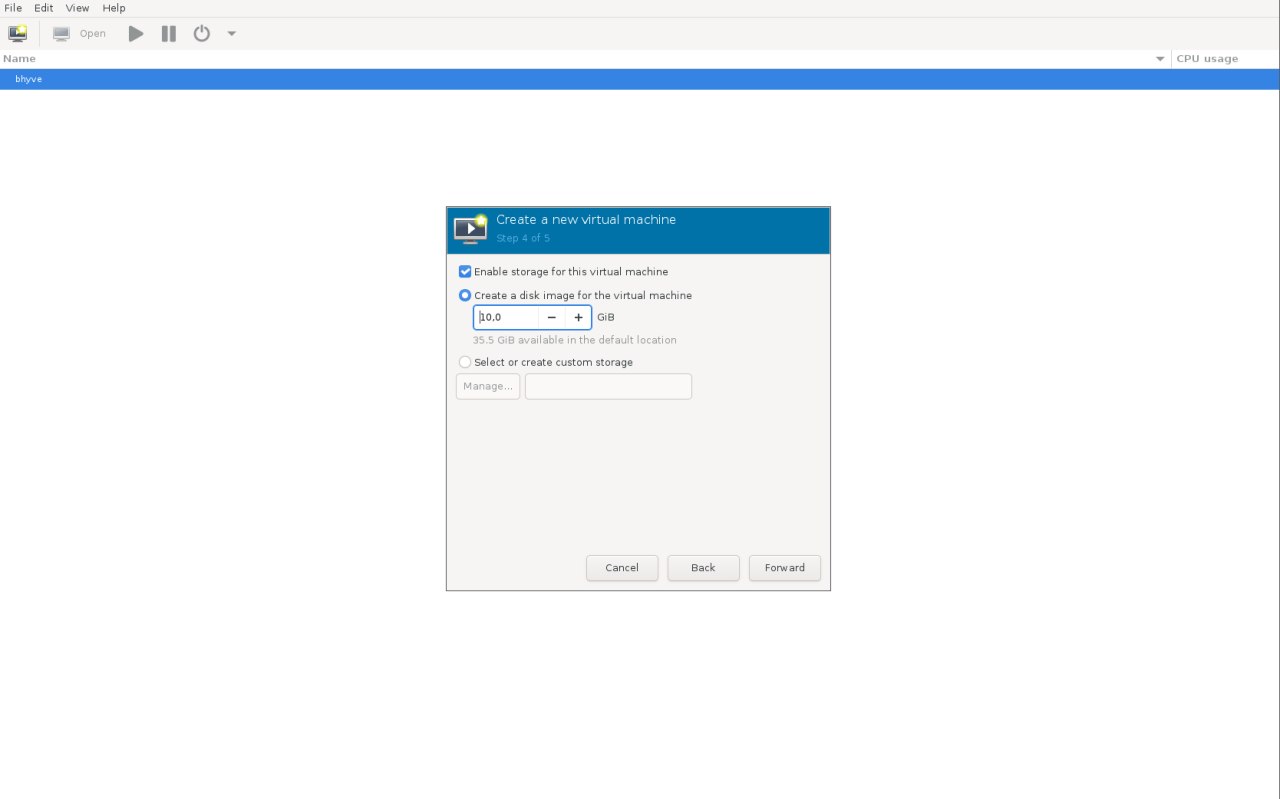
Then configure storage:
If everything’s correct, you’ll see the FreeBSD installer:
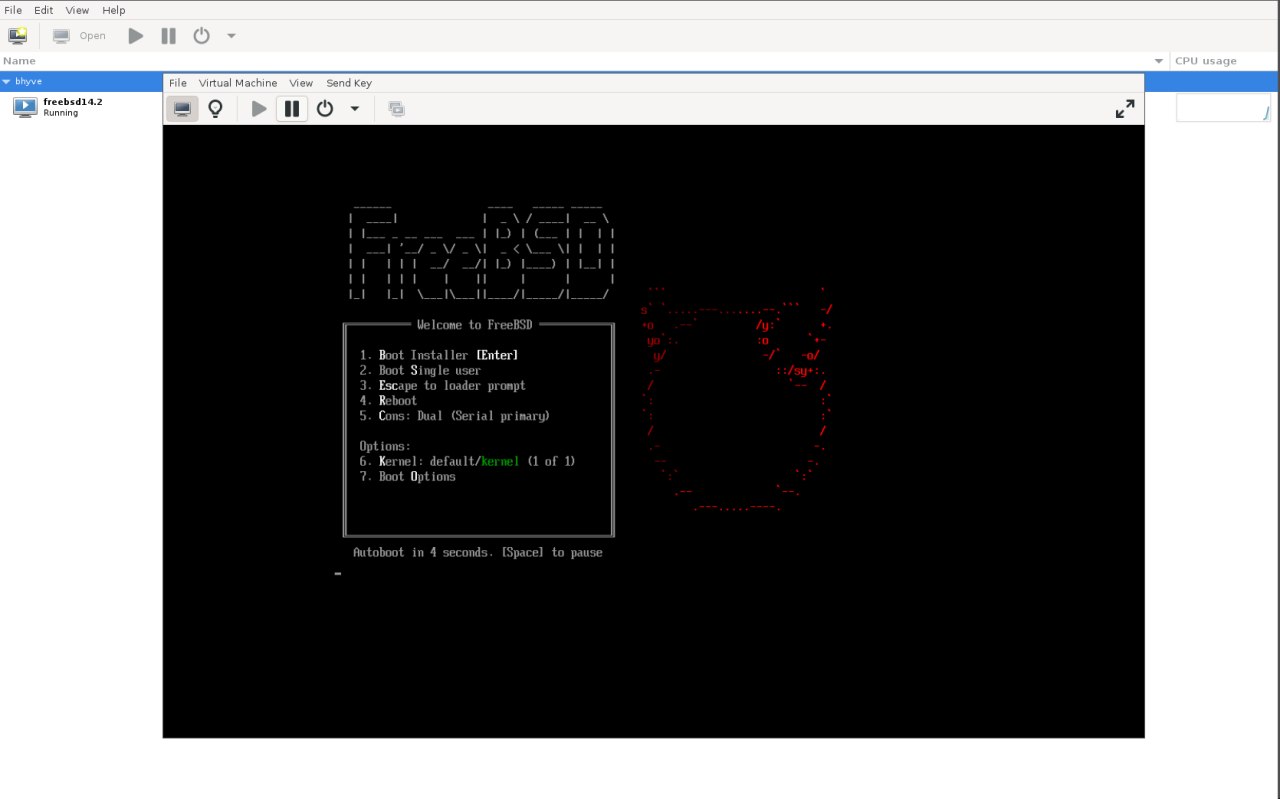
I’ll let you handle the installation itself. The only important bit: at the end, make sure you shut the VM down. Boot order isn’t supported yet, so you don’t want to boot from the ISO again.

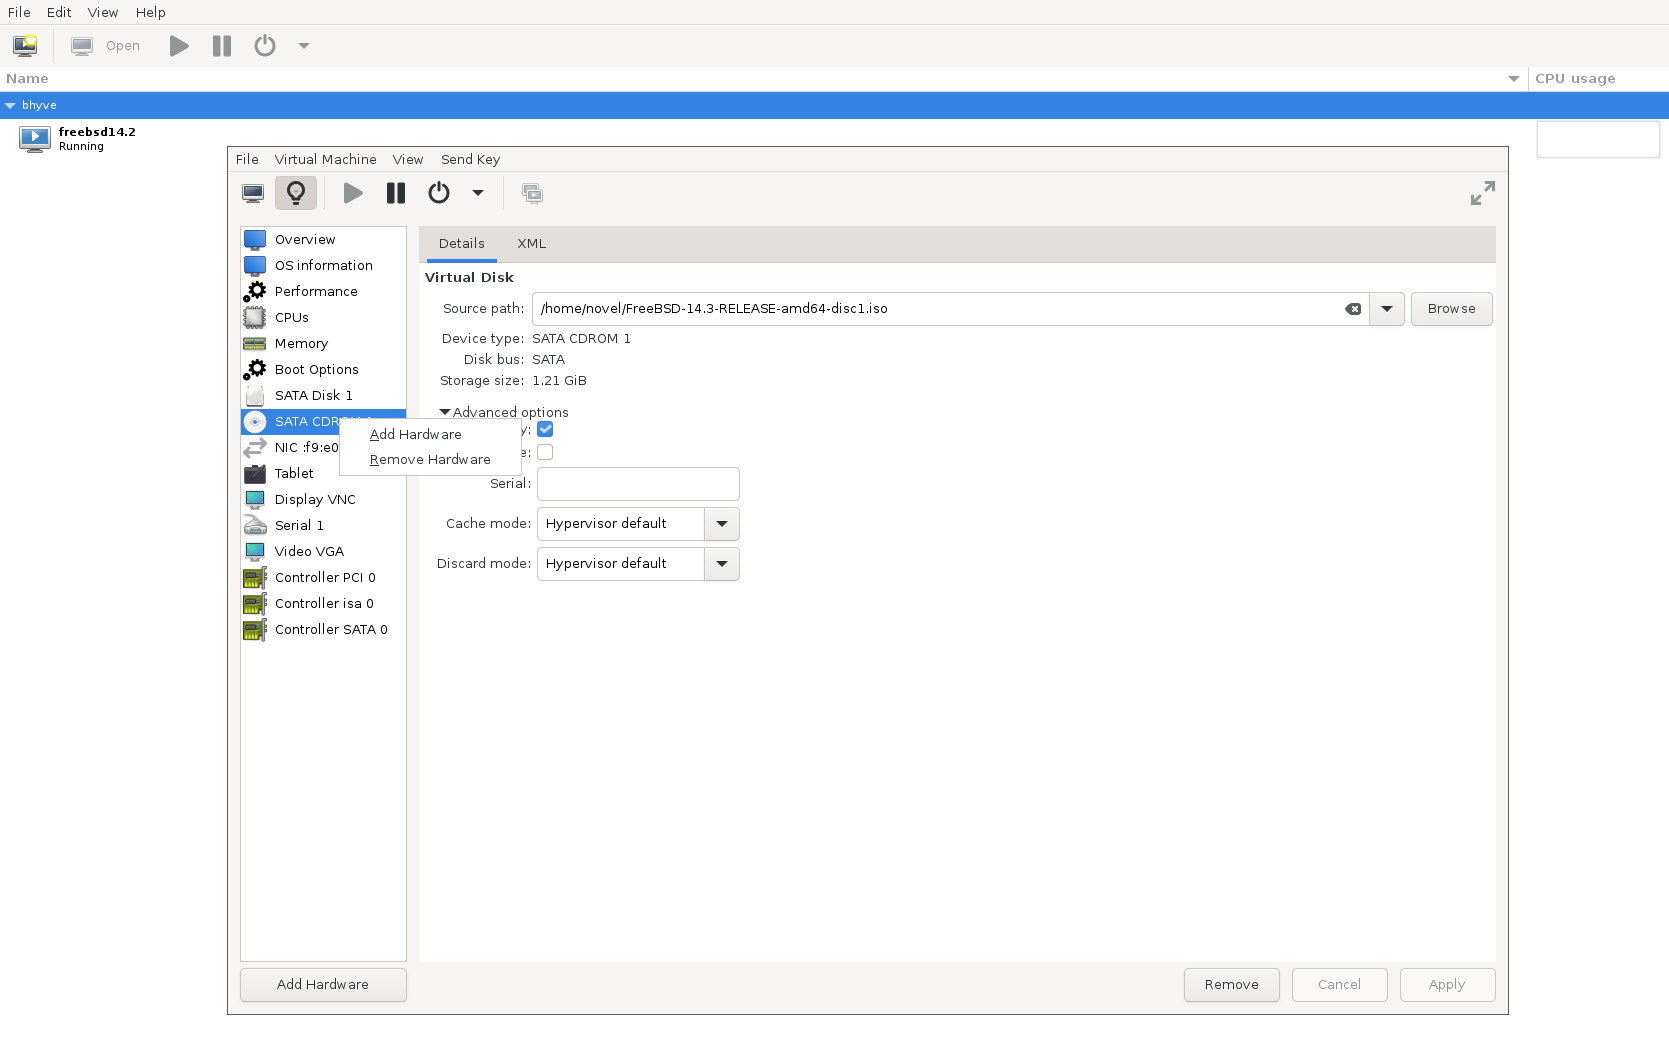
Once shut down, open "View" → "Details", find "SATA CDROM 1", right-click, and choose "Remove Hardware".
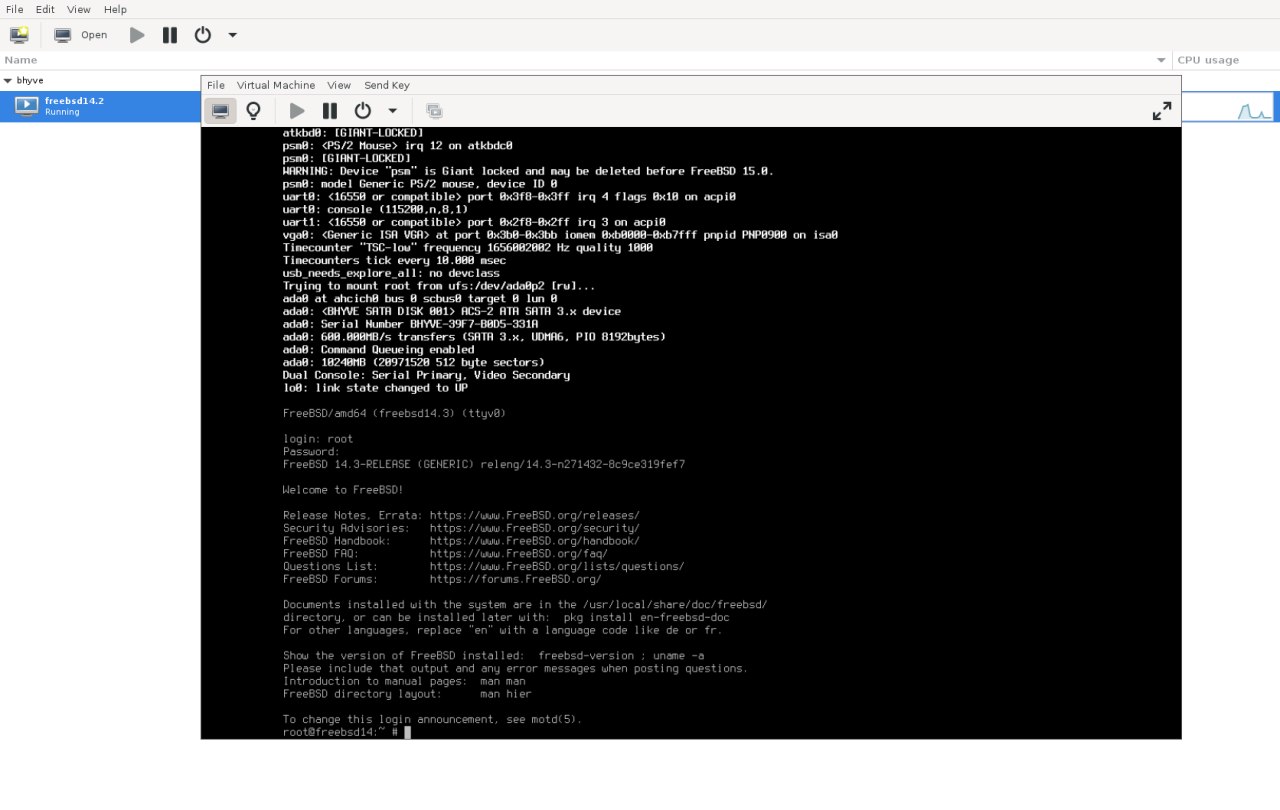
Now start the VM again — you should boot straight into your new FreeBSD system:
That’s it for now. I plan to fix a few rough edges to make things smoother. In the meantime, feel free to send me suggestions or bug reports at novel@FreeBSD.org, or open a PR in FreeBSD Bugzilla.
No comments:
Post a Comment