A couple of months ago I briefly described a libvirt CI setup that I run to make sure libvirt/bhyve keeps working.
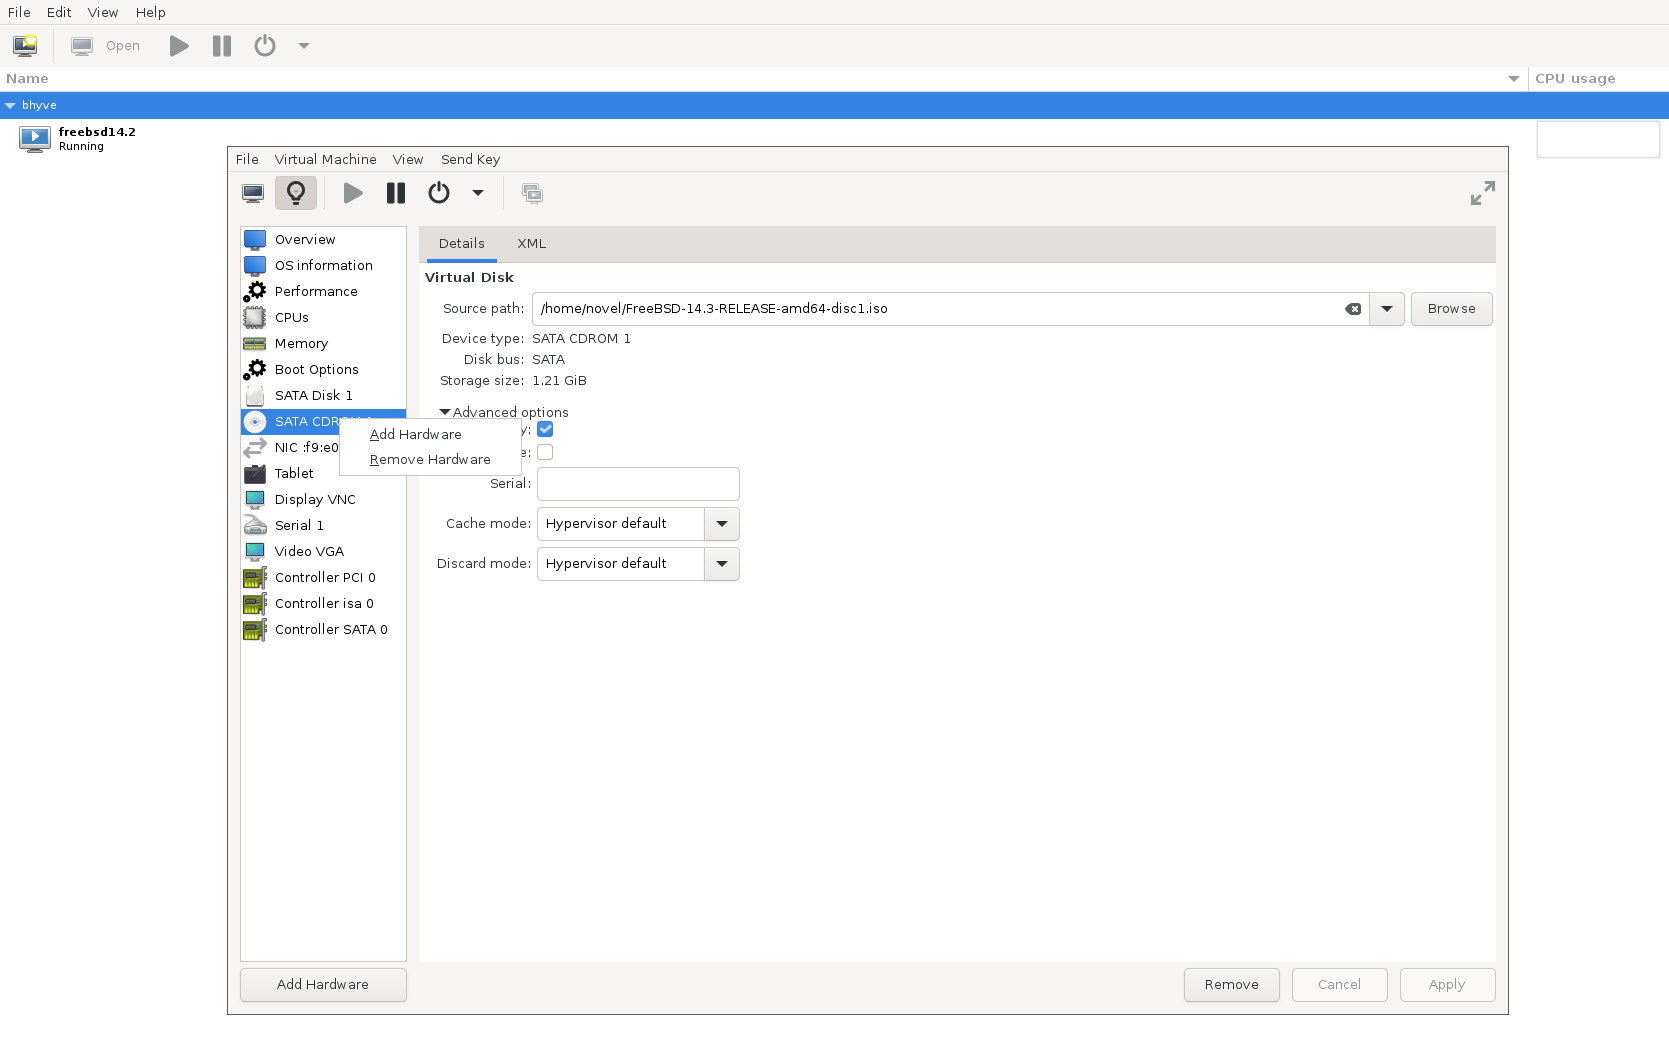
One thing I'd like to cover in more depth is running bhyve in a jail. Why is that needed in the first place? My primary motivation was separating the host's libvirt instance from the one being tested. It also helps ensure that the host configuration and packages do not interfere with the ones being tested. I imagine, however, that there could be more cases where running bhyve in a jail makes sense, for example as an additional security measure.
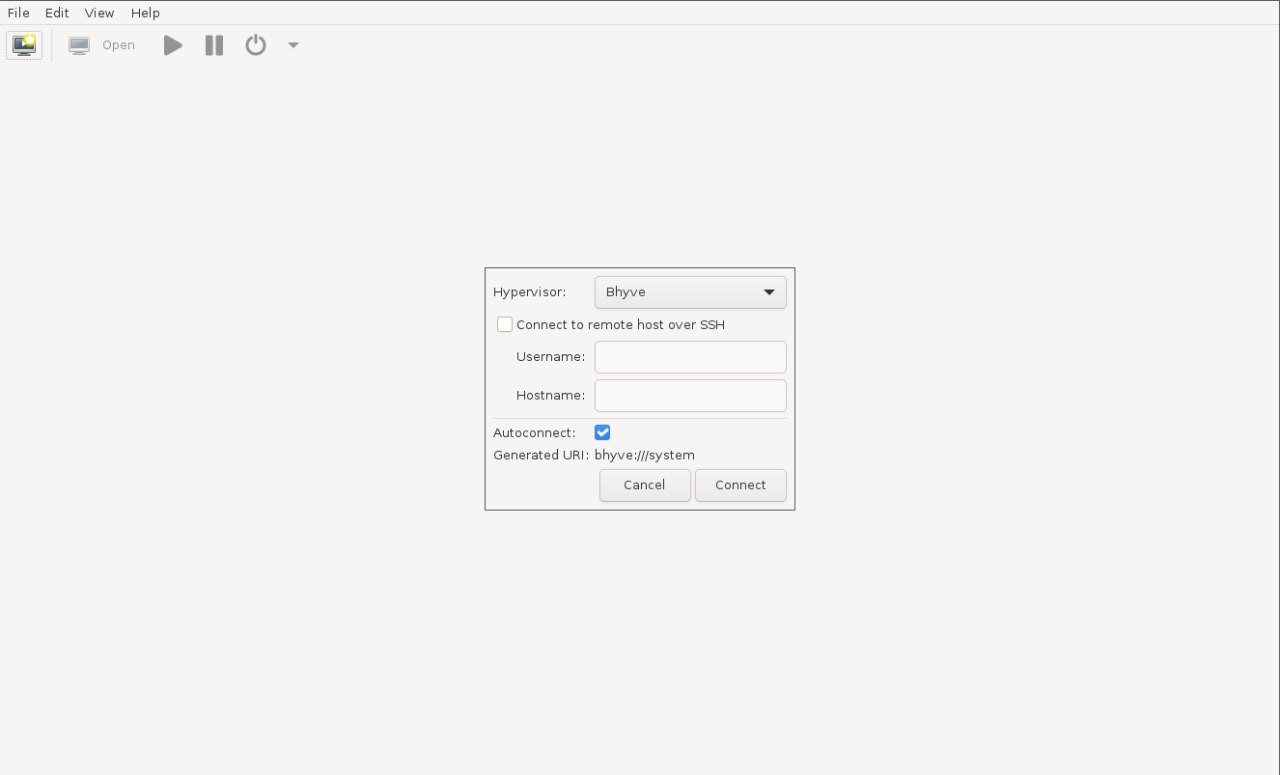
I use Bastille to manage my jails, but the concept is the same for plain jails and probably other jail management software as well.
The settings I have in my Bastillefile are as follows. Some of these are not strictly required to run bhyve(8), but may be necessary to run libvirt, pf, and related tools. It is up to the reader to trim down anything that seems unnecessary.
CONFIG set allow.chflags=1;
CONFIG set allow.raw_sockets=1;

CONFIG set allow.vmm=1;
CONFIG set allow.mount;
CONFIG set allow.mount.devfs;
CONFIG set allow.mount.fdescfs;
CONFIG set allow.mount.procfs;
CONFIG set mount.devfs;
CONFIG set mount.fdescfs;
CONFIG set mount.procfs;
CONFIG set devfs_ruleset="44";
/etc/devfs.rules looks like this:
[devfs_rules_bhyve_jail=44]
add include $devfsrules_jail
add path vmm unhide
add path vmm/* unhide
add path tap* unhide
add path mem unhide
add path kmem unhide
add path nmdm* unhide
add path pci unhide
add path io unhide
add path pf unhide
As you can see, this also includes some extra stuff, such as pf, which you are of course free to remove or adjust to your liking.
And that's it -- this should be enough to get you started with running bhyve(8) in jail(8).